LUCCA X58: Safety Valve / Vacuum Breaker ReplacementUpdated 5 months ago
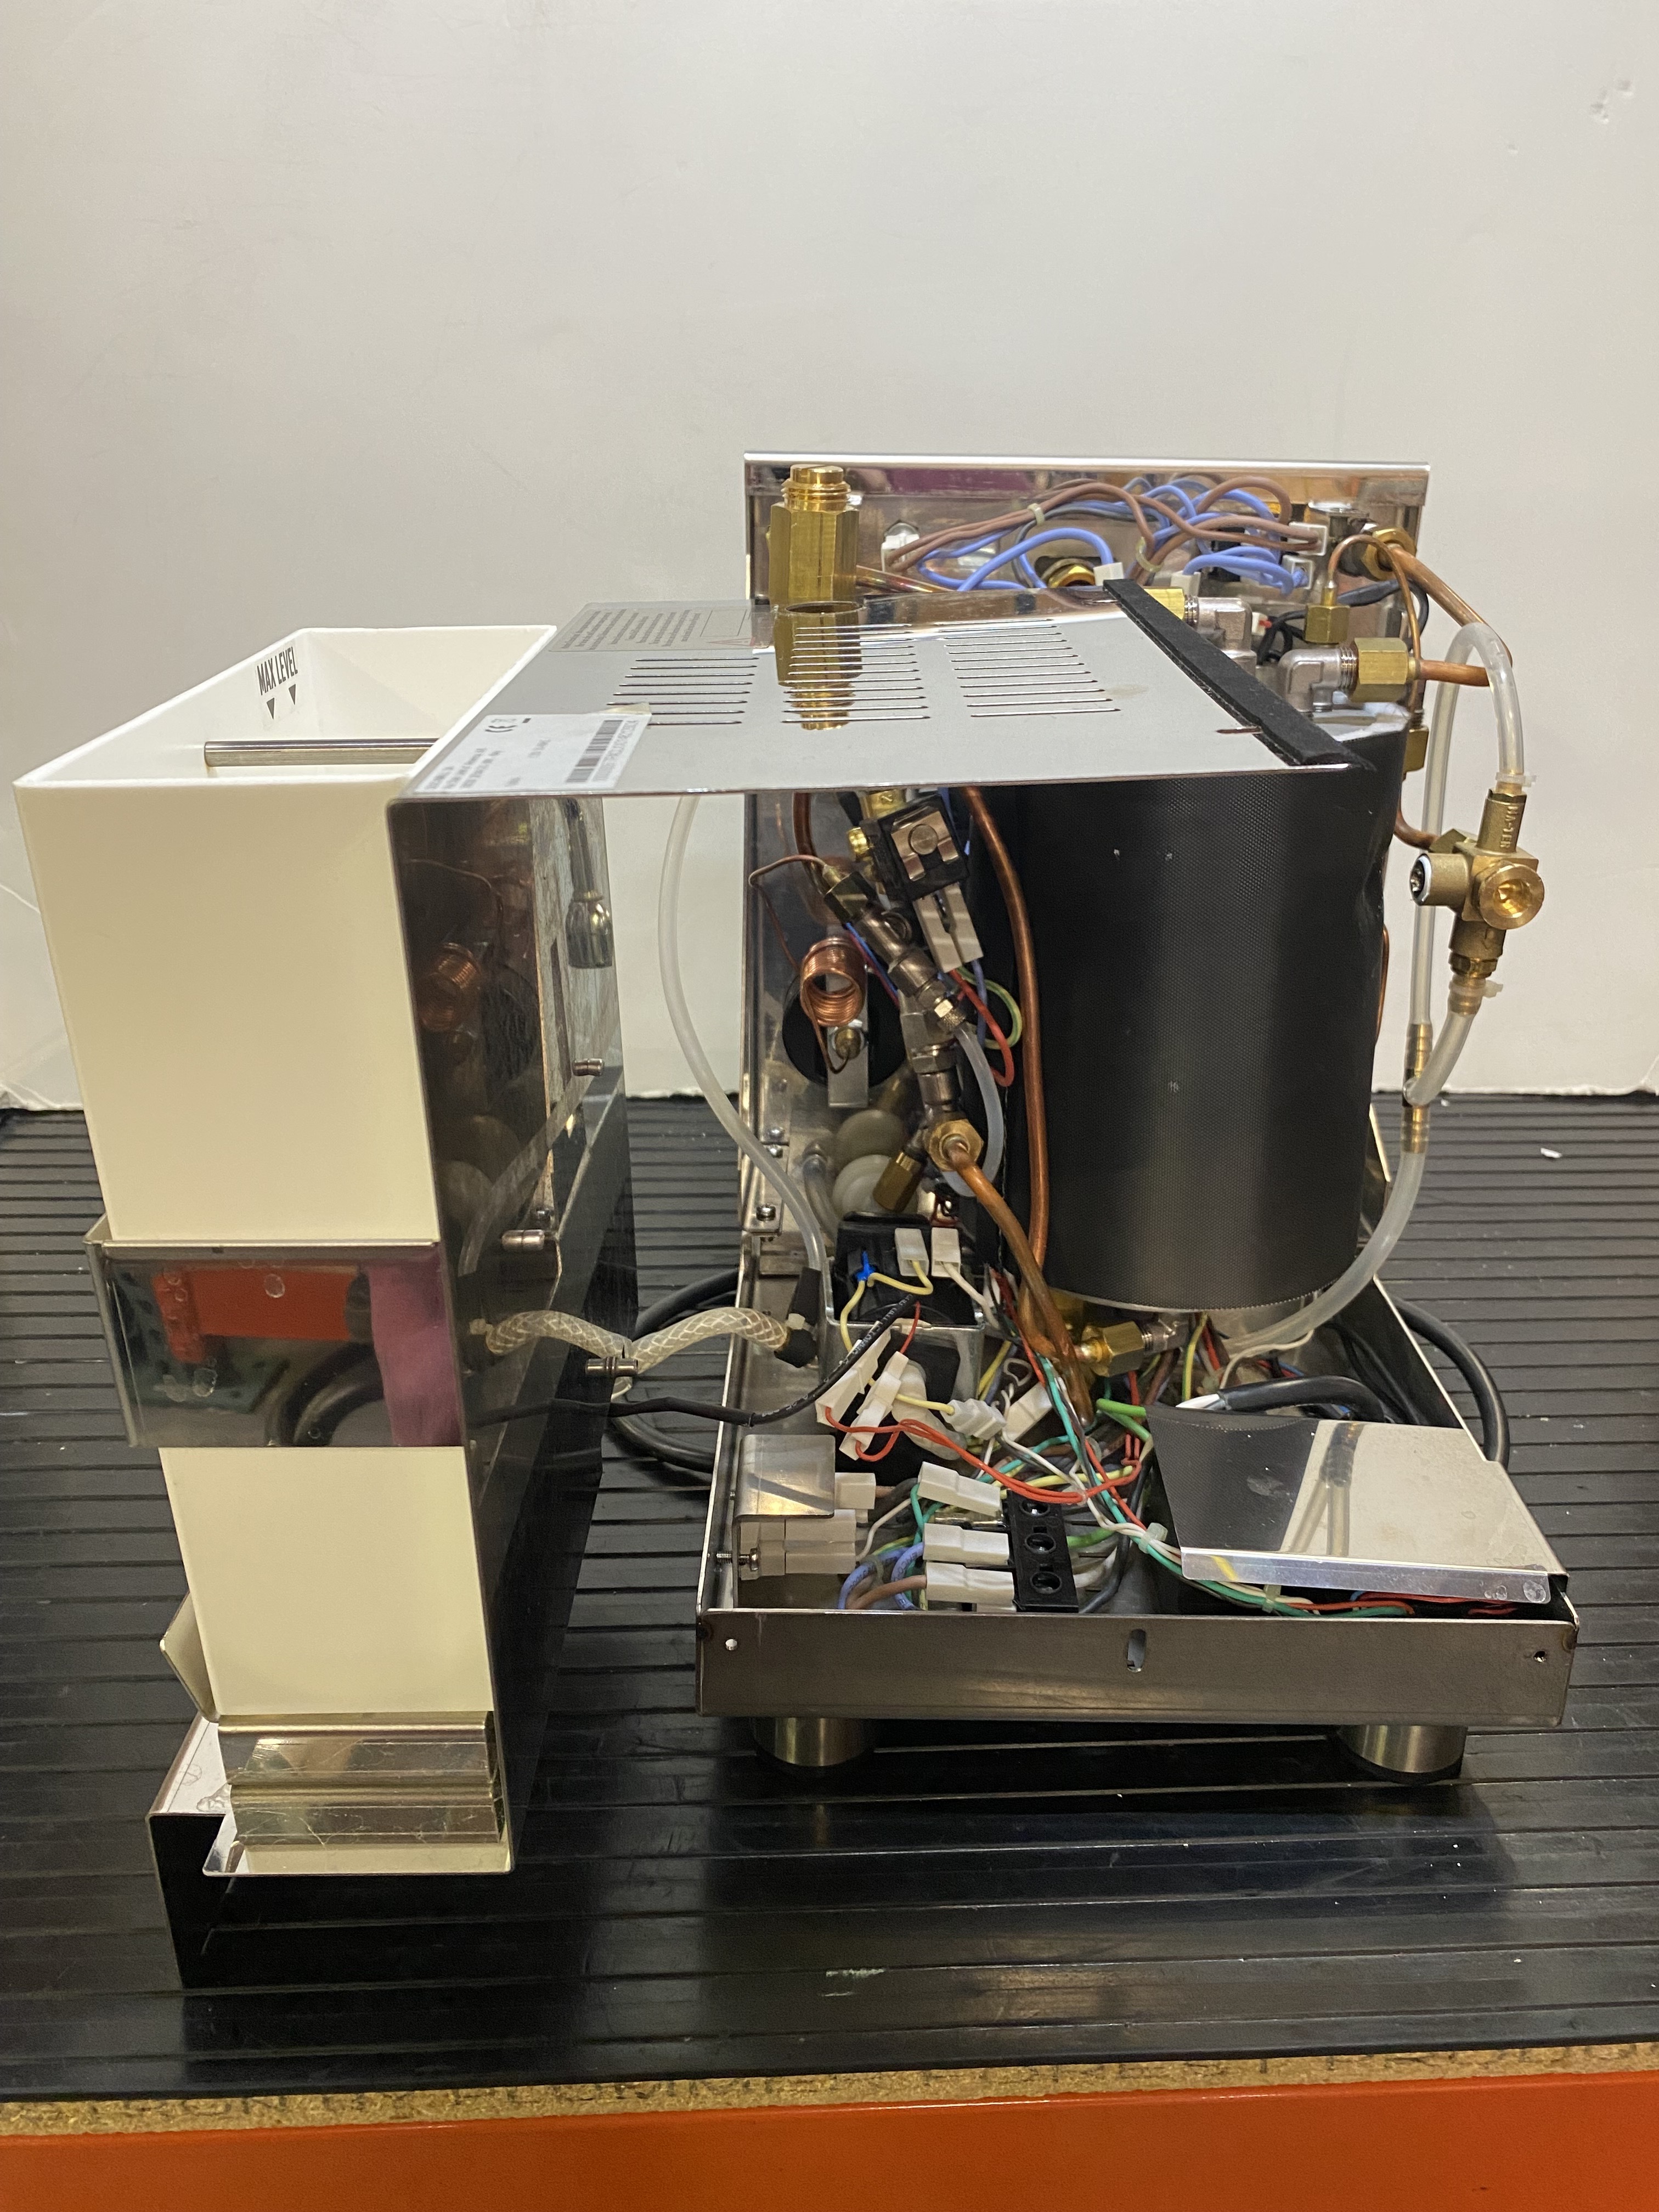
Before we get started you'll need to remove the panels of your X58. Make sure the machine is unplugged and allow it to fully cool off.
Tools Needed:
- Adjustable wrench x2 (or a wrench & a vice grip)
- 6mm Allen hex key
- Teflon tape
- Zip ties
- Hot water
Parts needed:
Replacement Safety Valve / Vacuum Breaker Combo
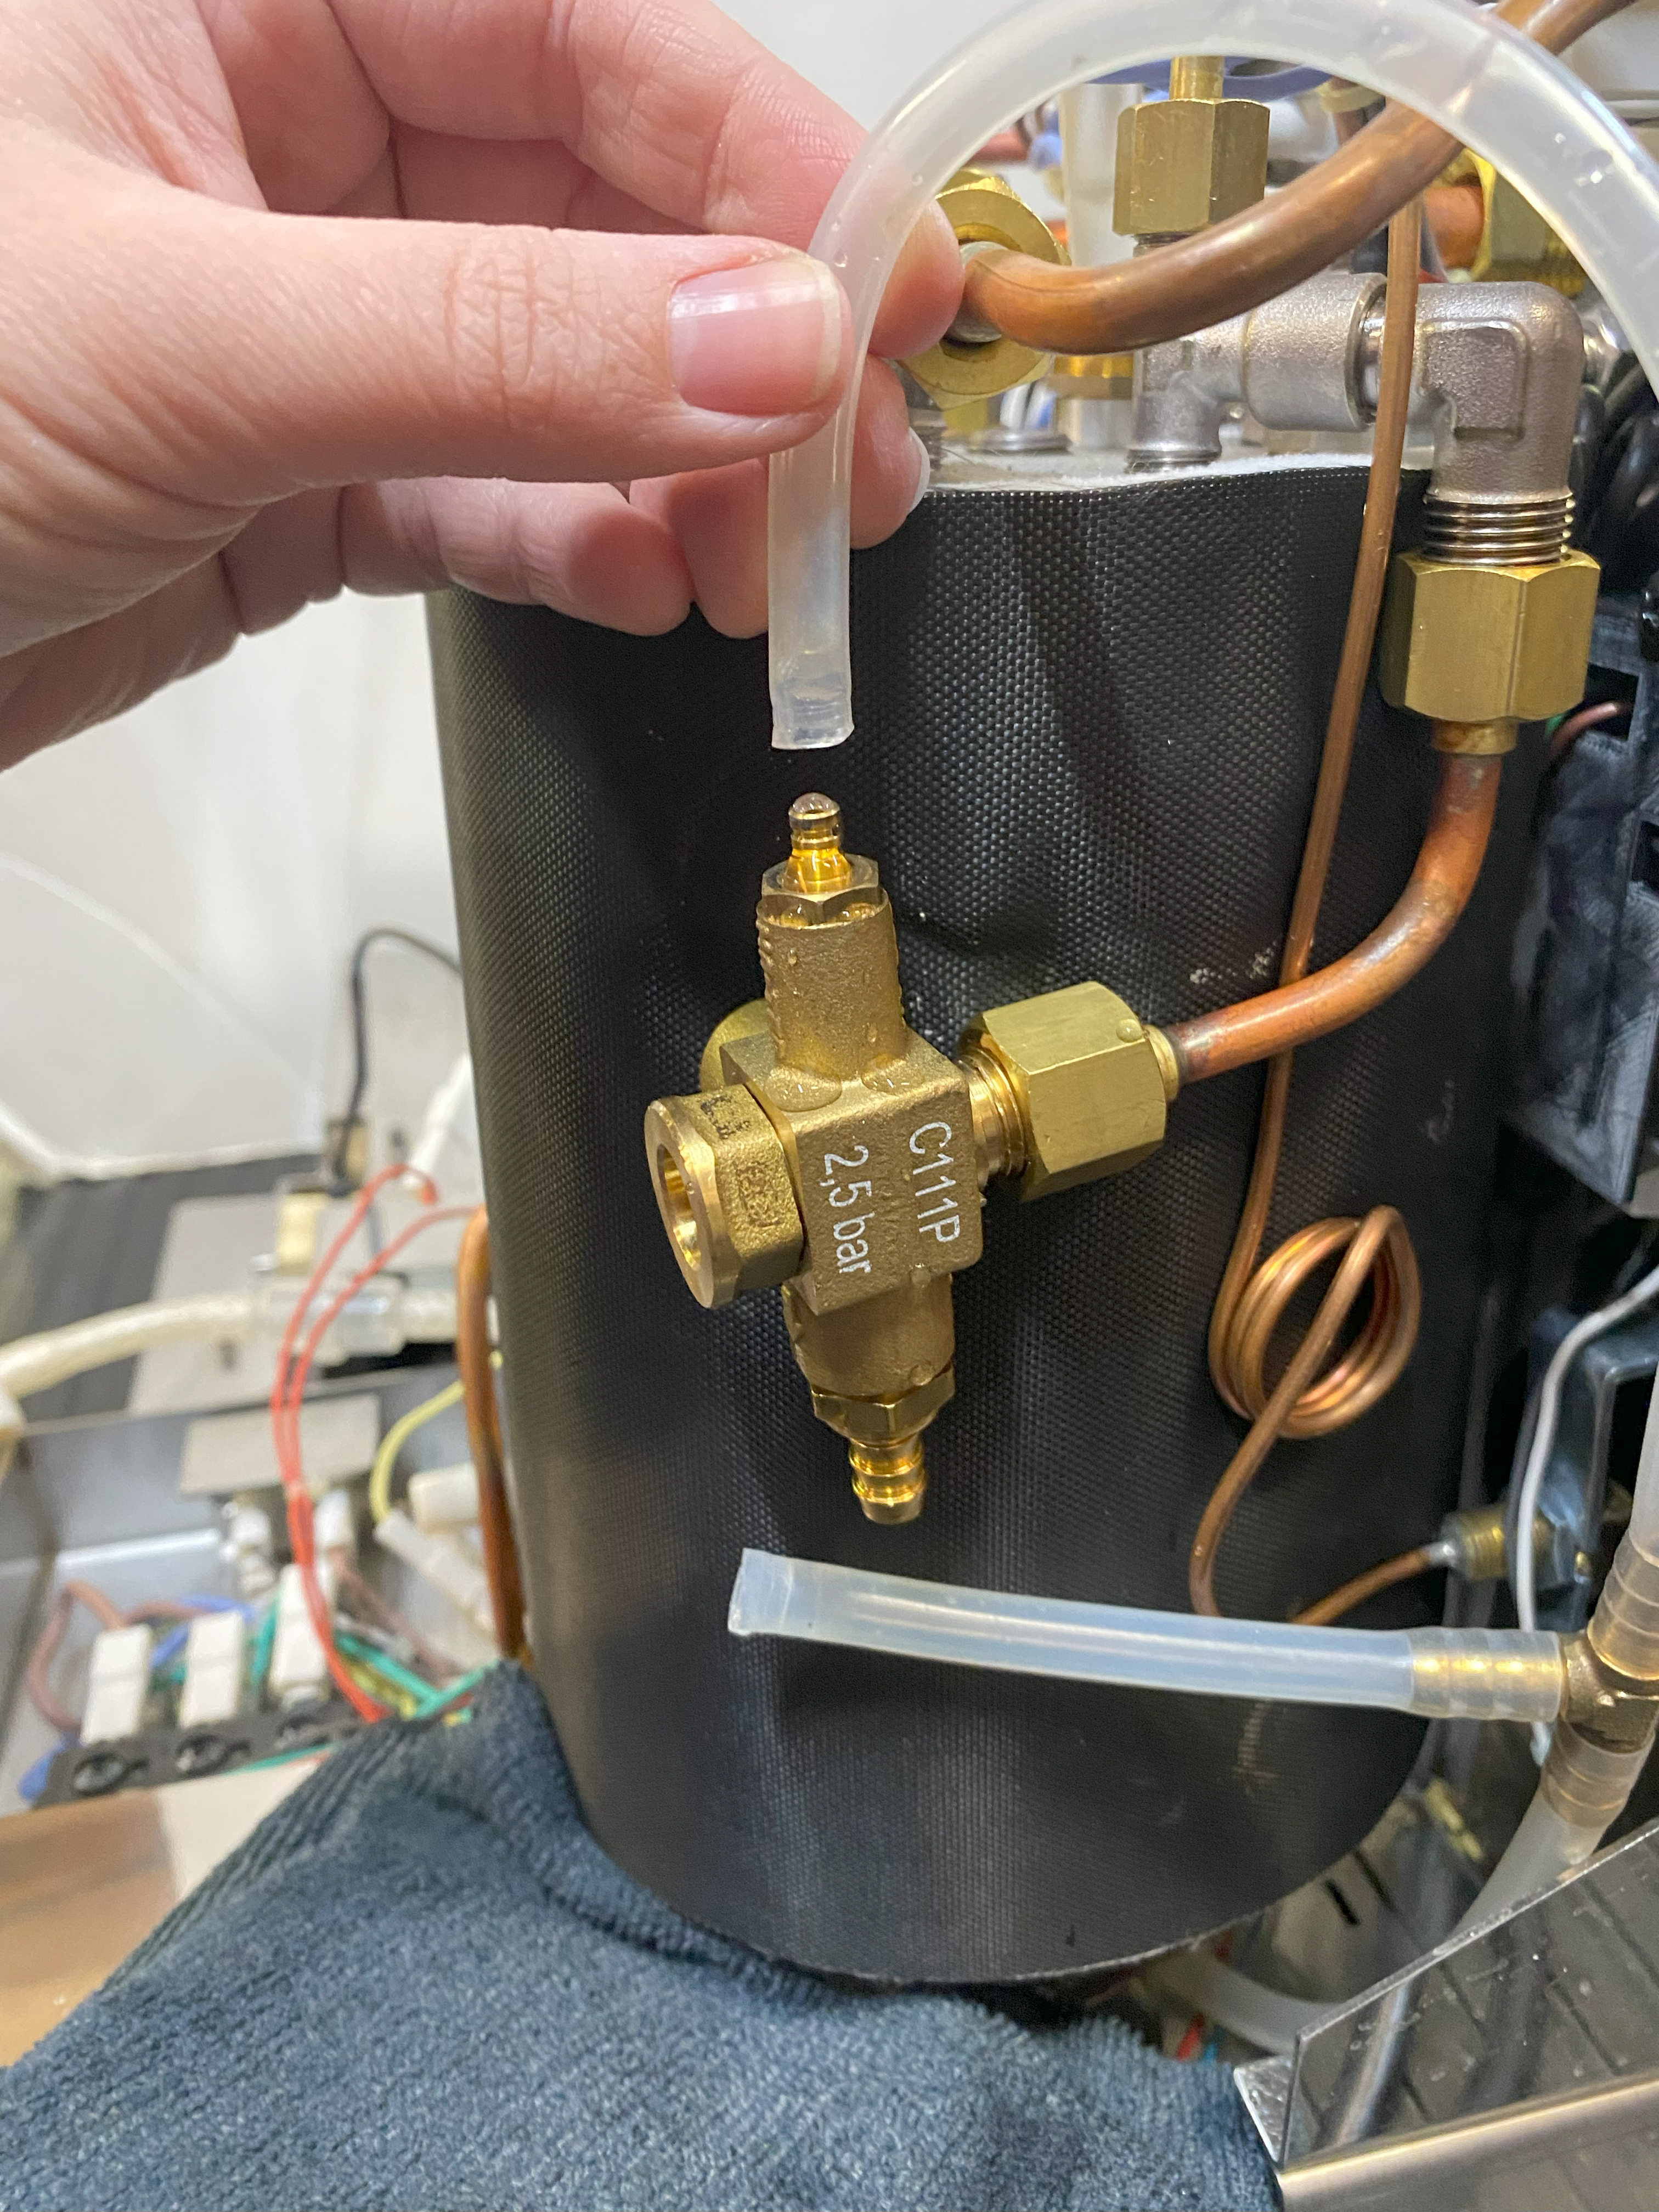
1. Locate the safety valve / vacuum breaker and remove the tubing from both sides (the zip ties on the tubing can be cut off) :
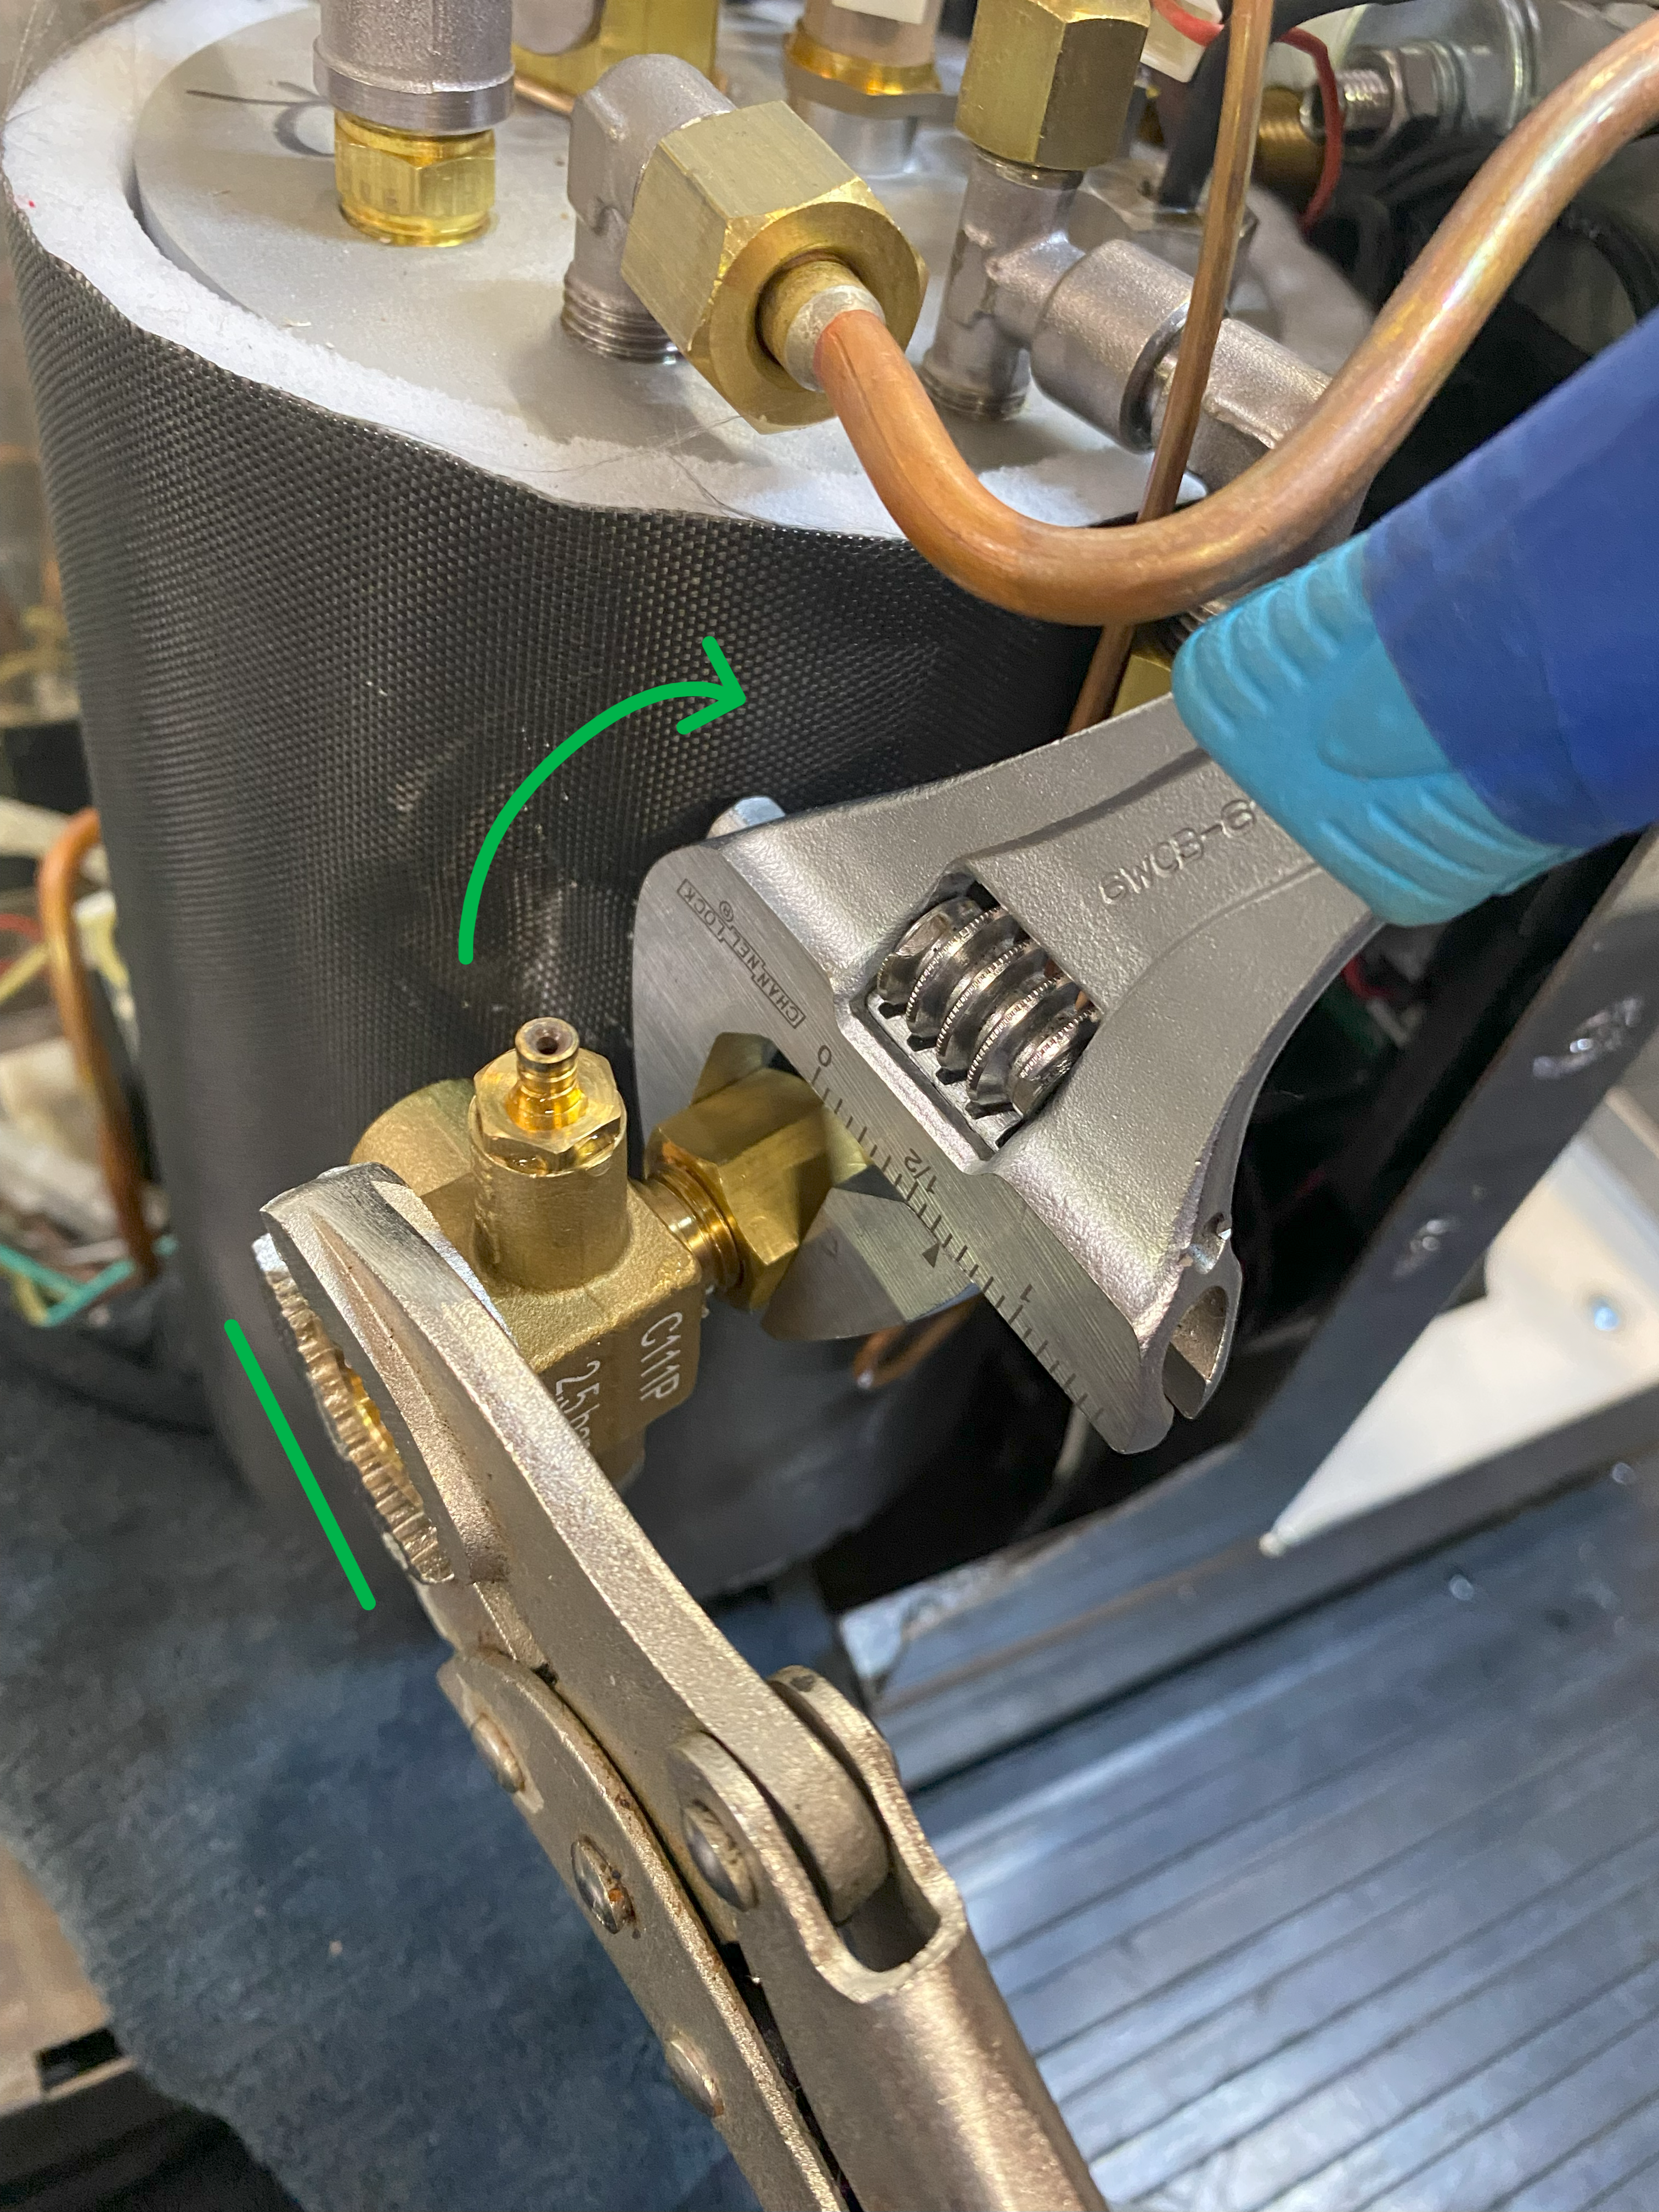
2. Use either an adjustable wrench (or a vice grip) to stabilize the vacuum breaker while using the other adjustable wrench to loosen this fitting:
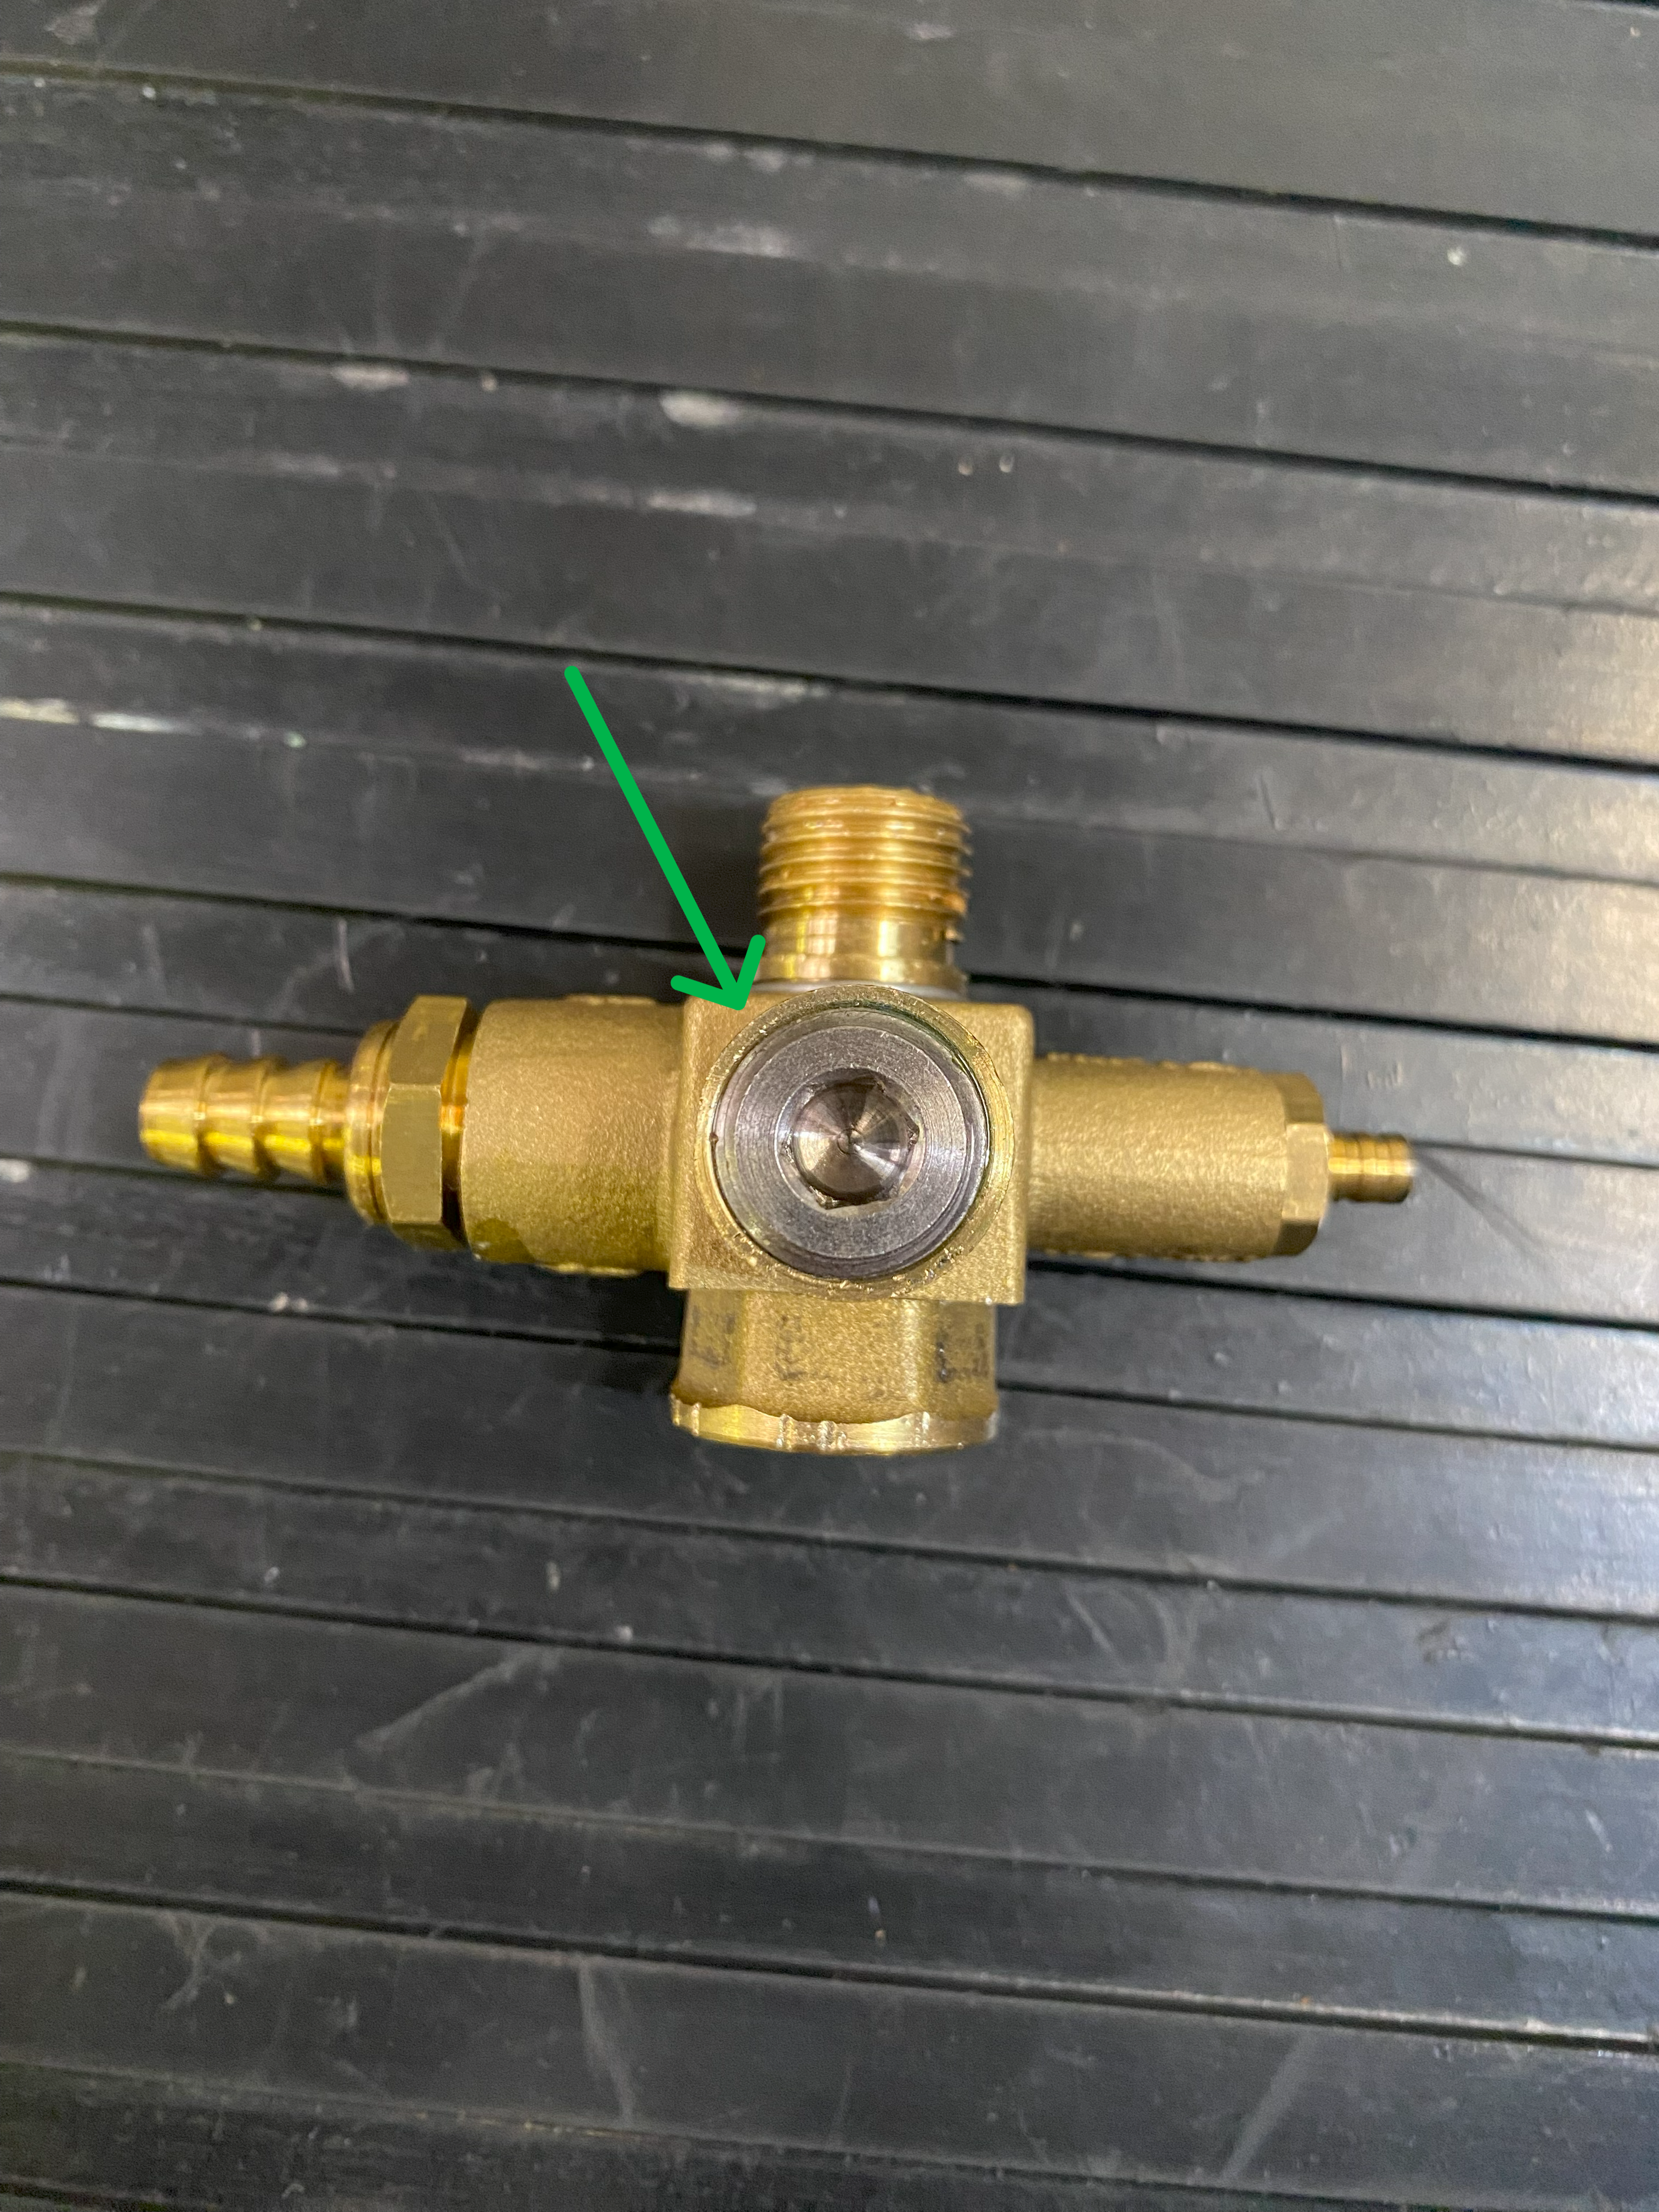
3. Once the vacuum breaker is removed we're going to shift our focus to removing this lock nut (you're going to install this lock nut onto the replacement vacuum breaker) :
4. The lock nut is sealed into place so to help loosen the seal we recommend soaking the vacuum breaker in hot water: 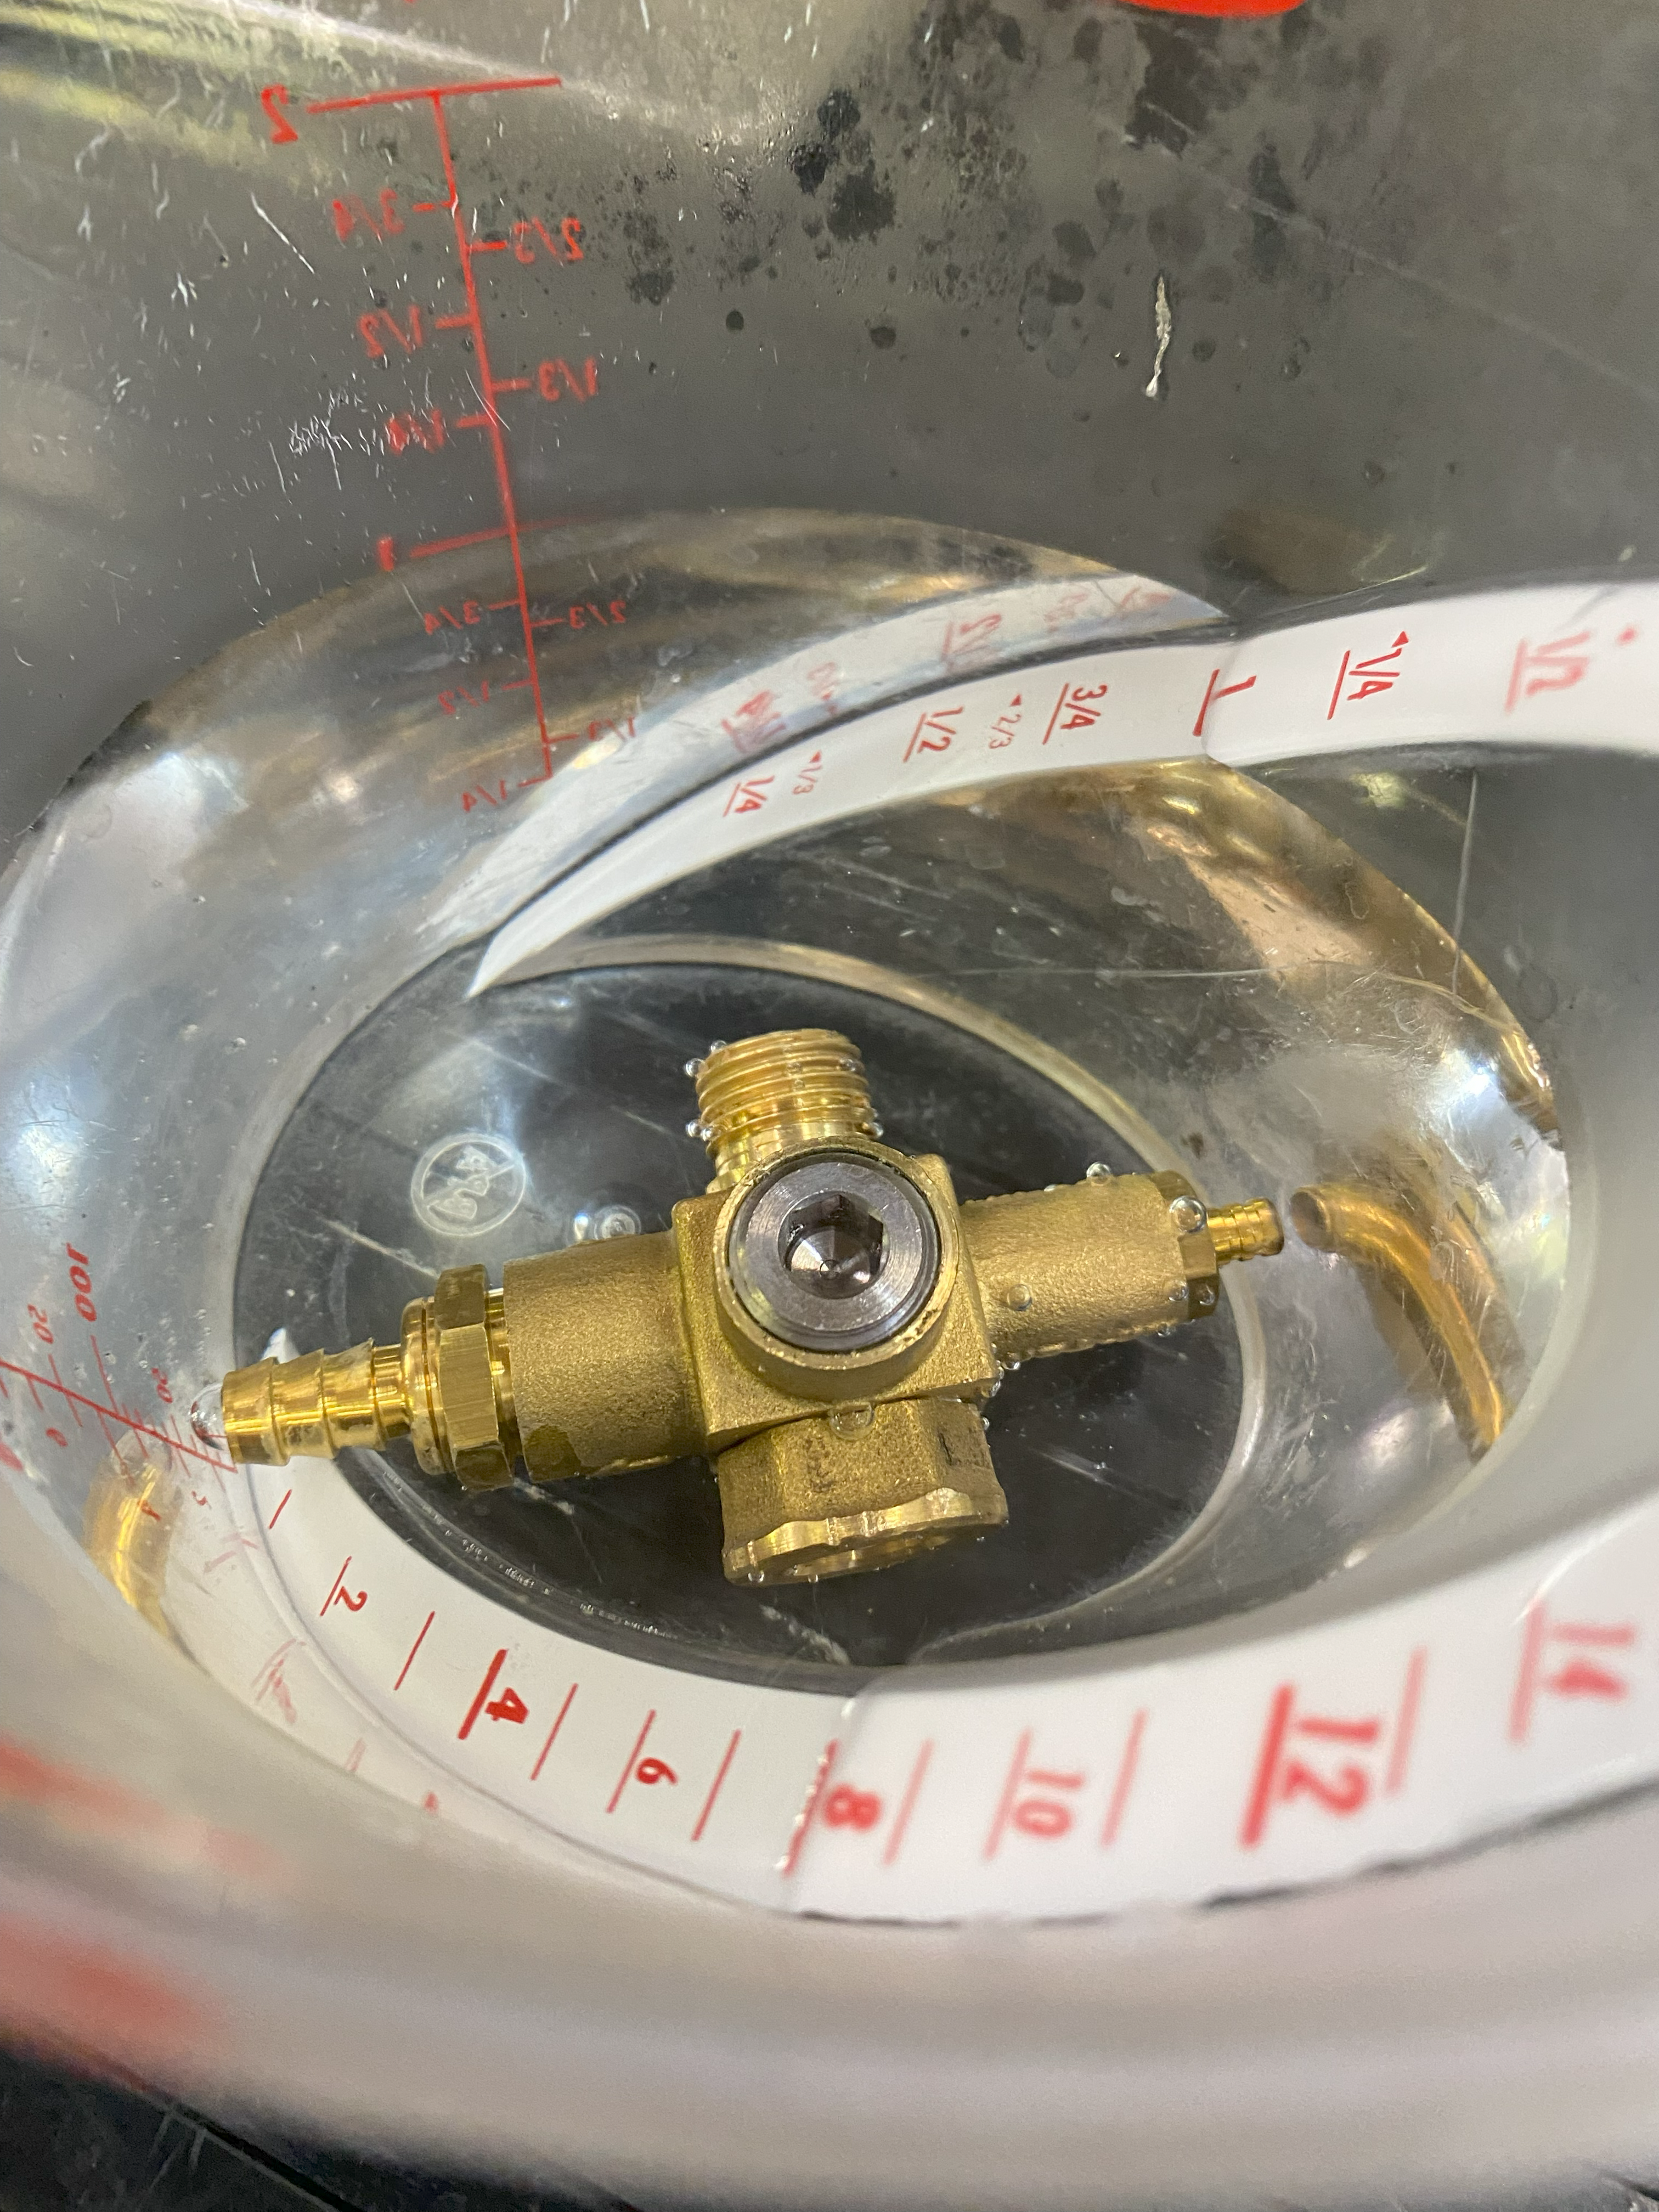
5. After a few minutes, remove the vacuum breaker from the water and use the 6mm Allen hex key to remove the lock nut (this can be tough and might take some time but keep re-applying heat and the seal will loosen up.) :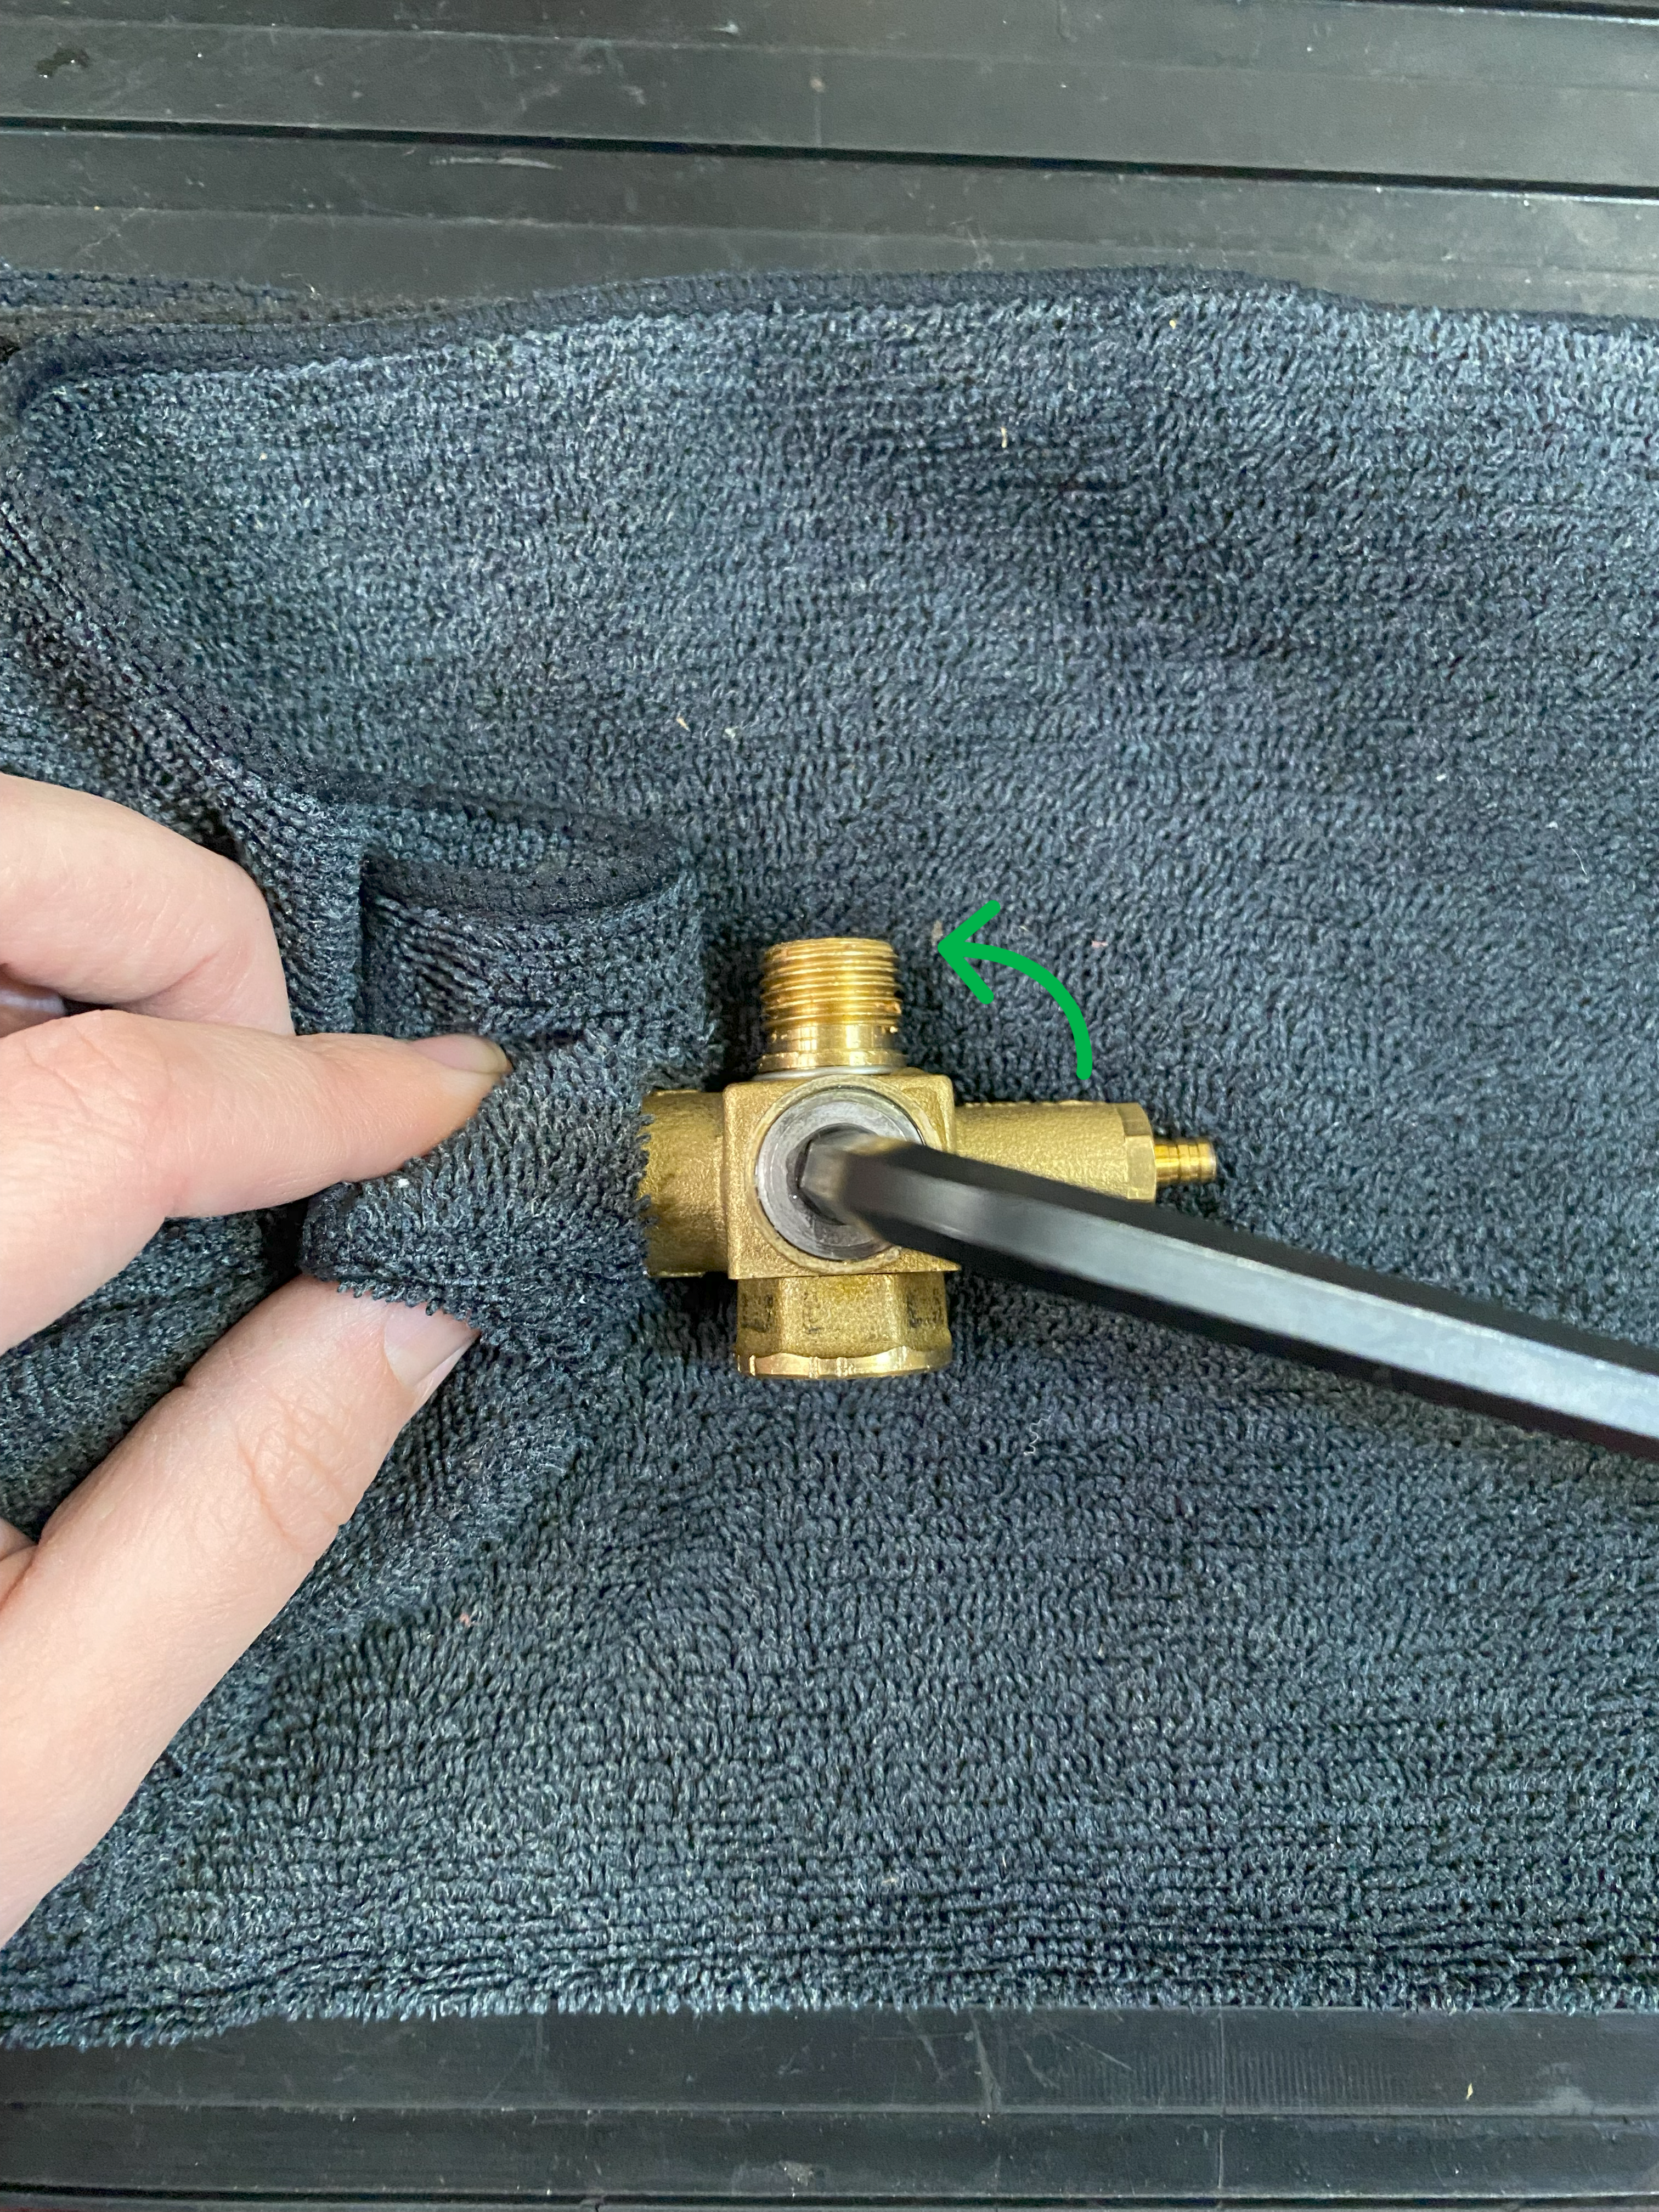
6. Once the lock nut is removed, you'll want to wrap the threading of the nut several times with Teflon tape to replicate the seal: 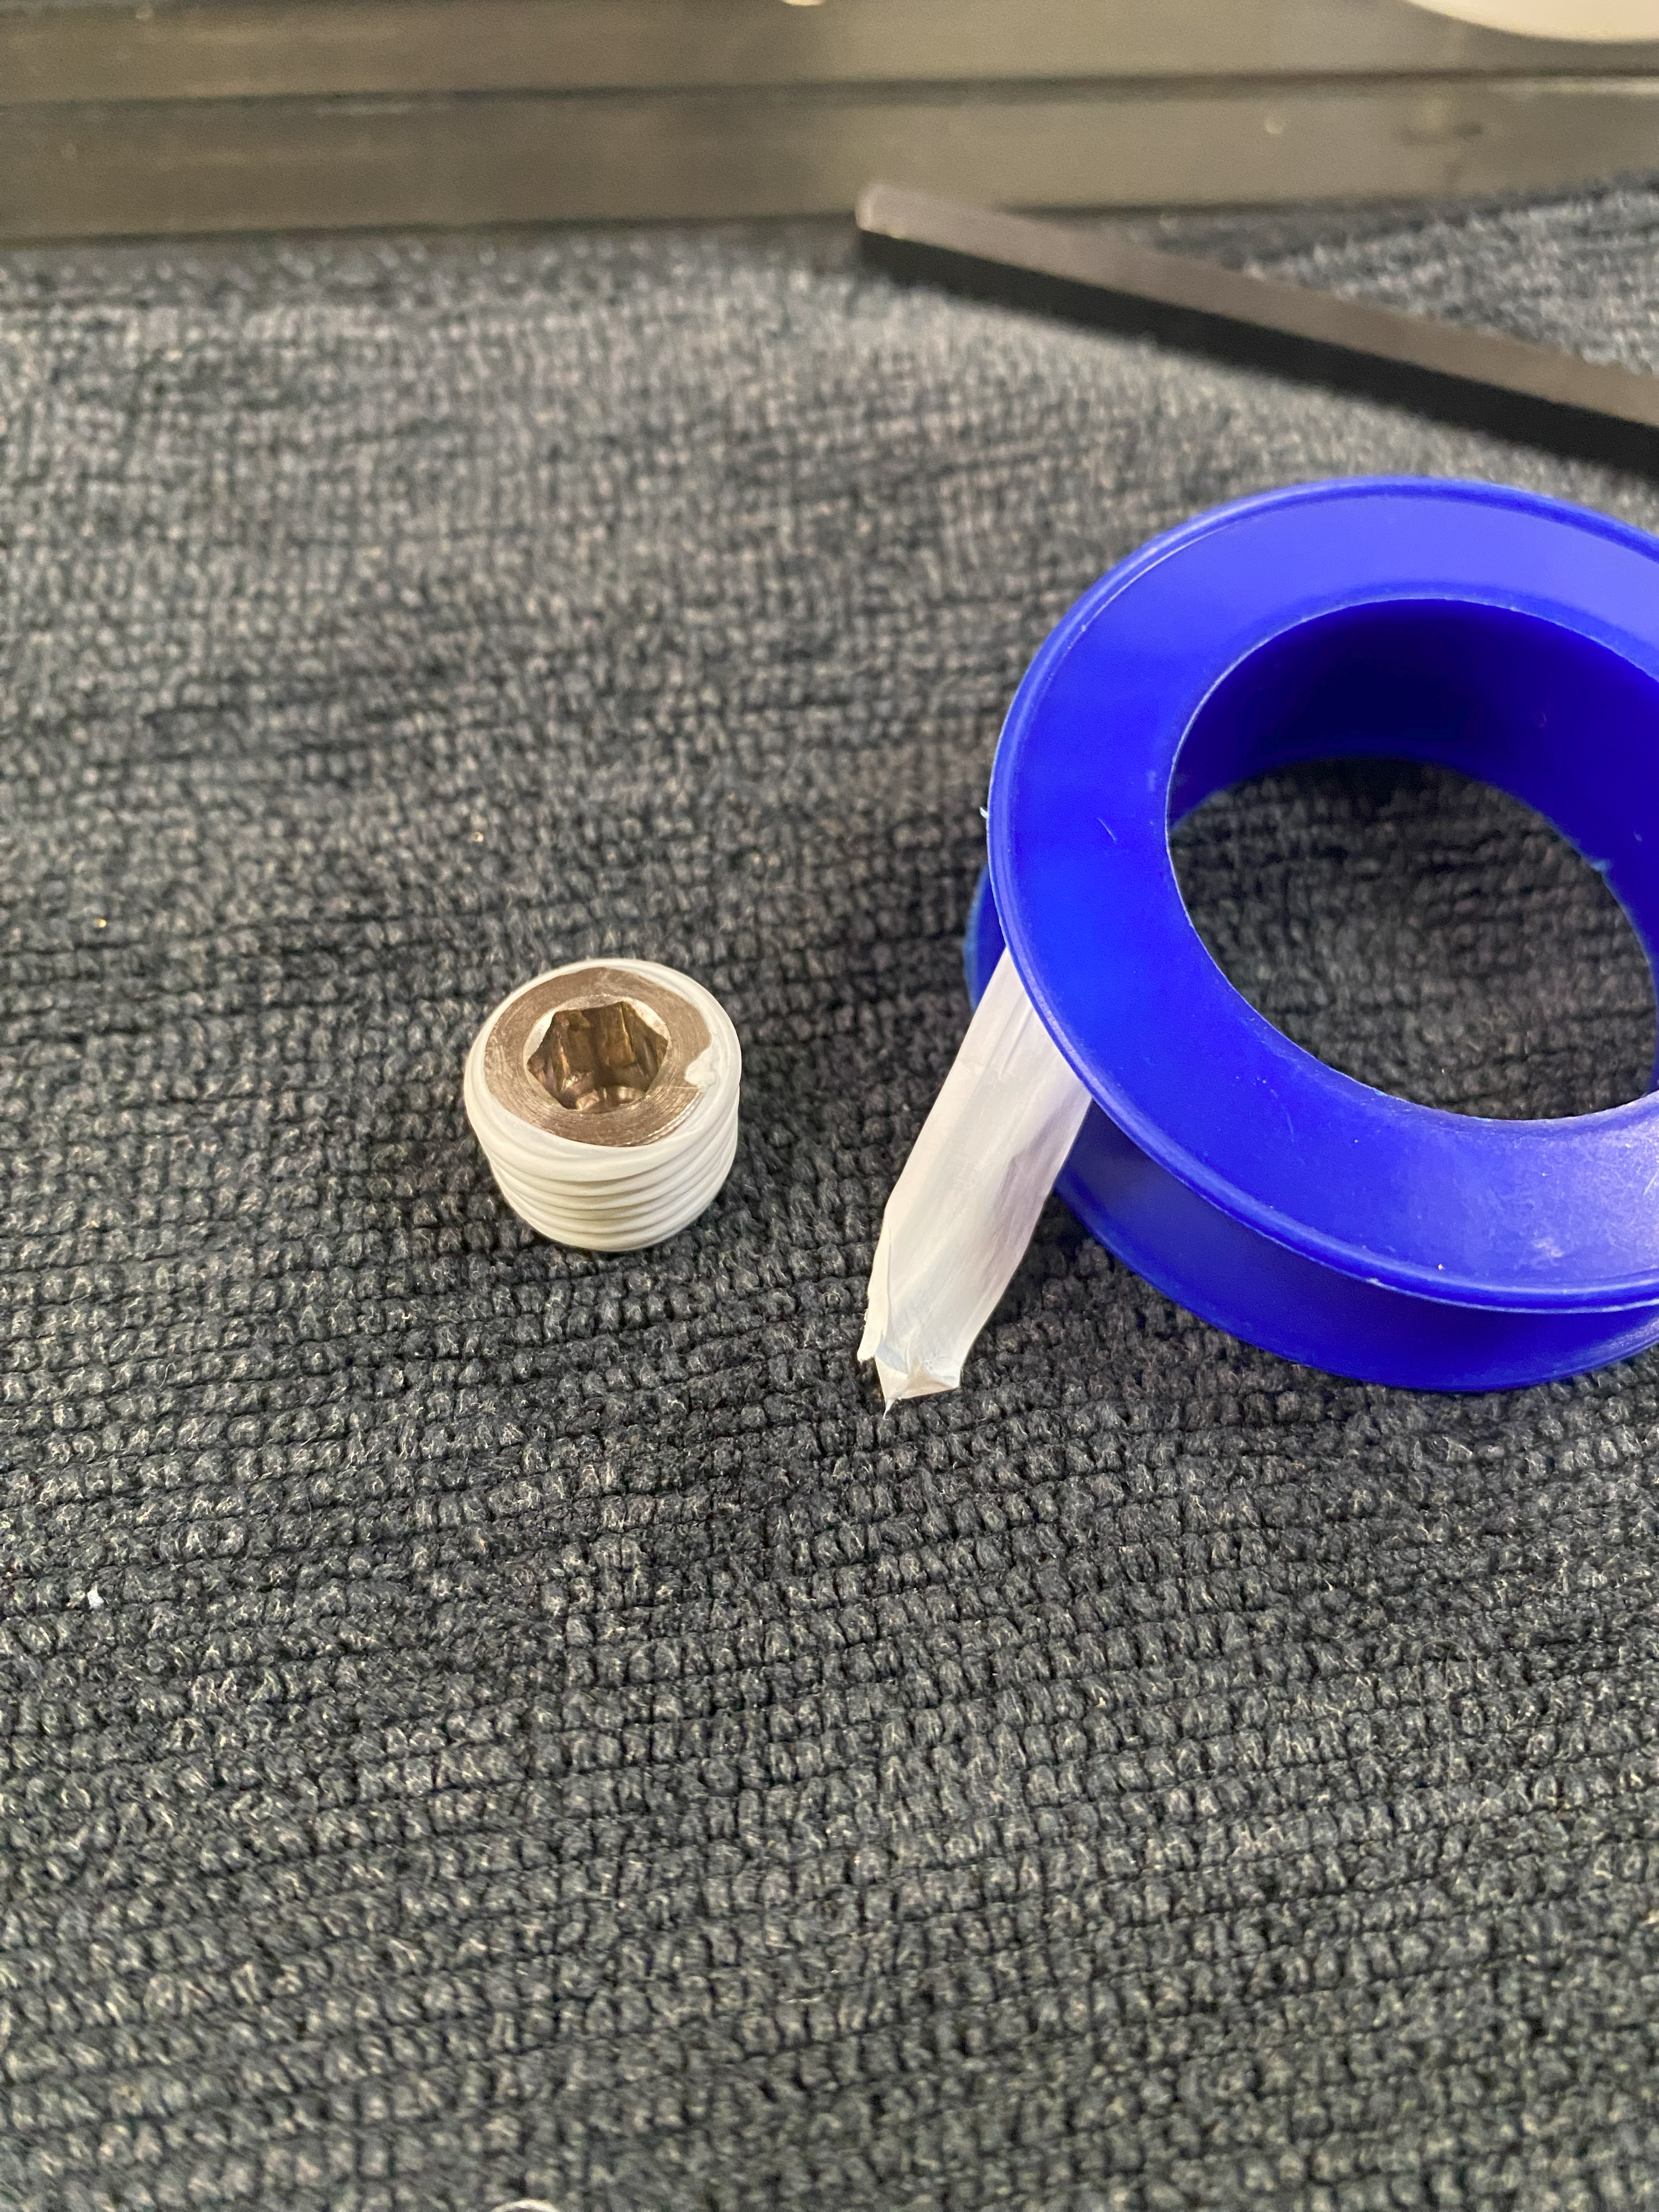
7. Then you're ready to install the nut into the replacement vacuum breaker: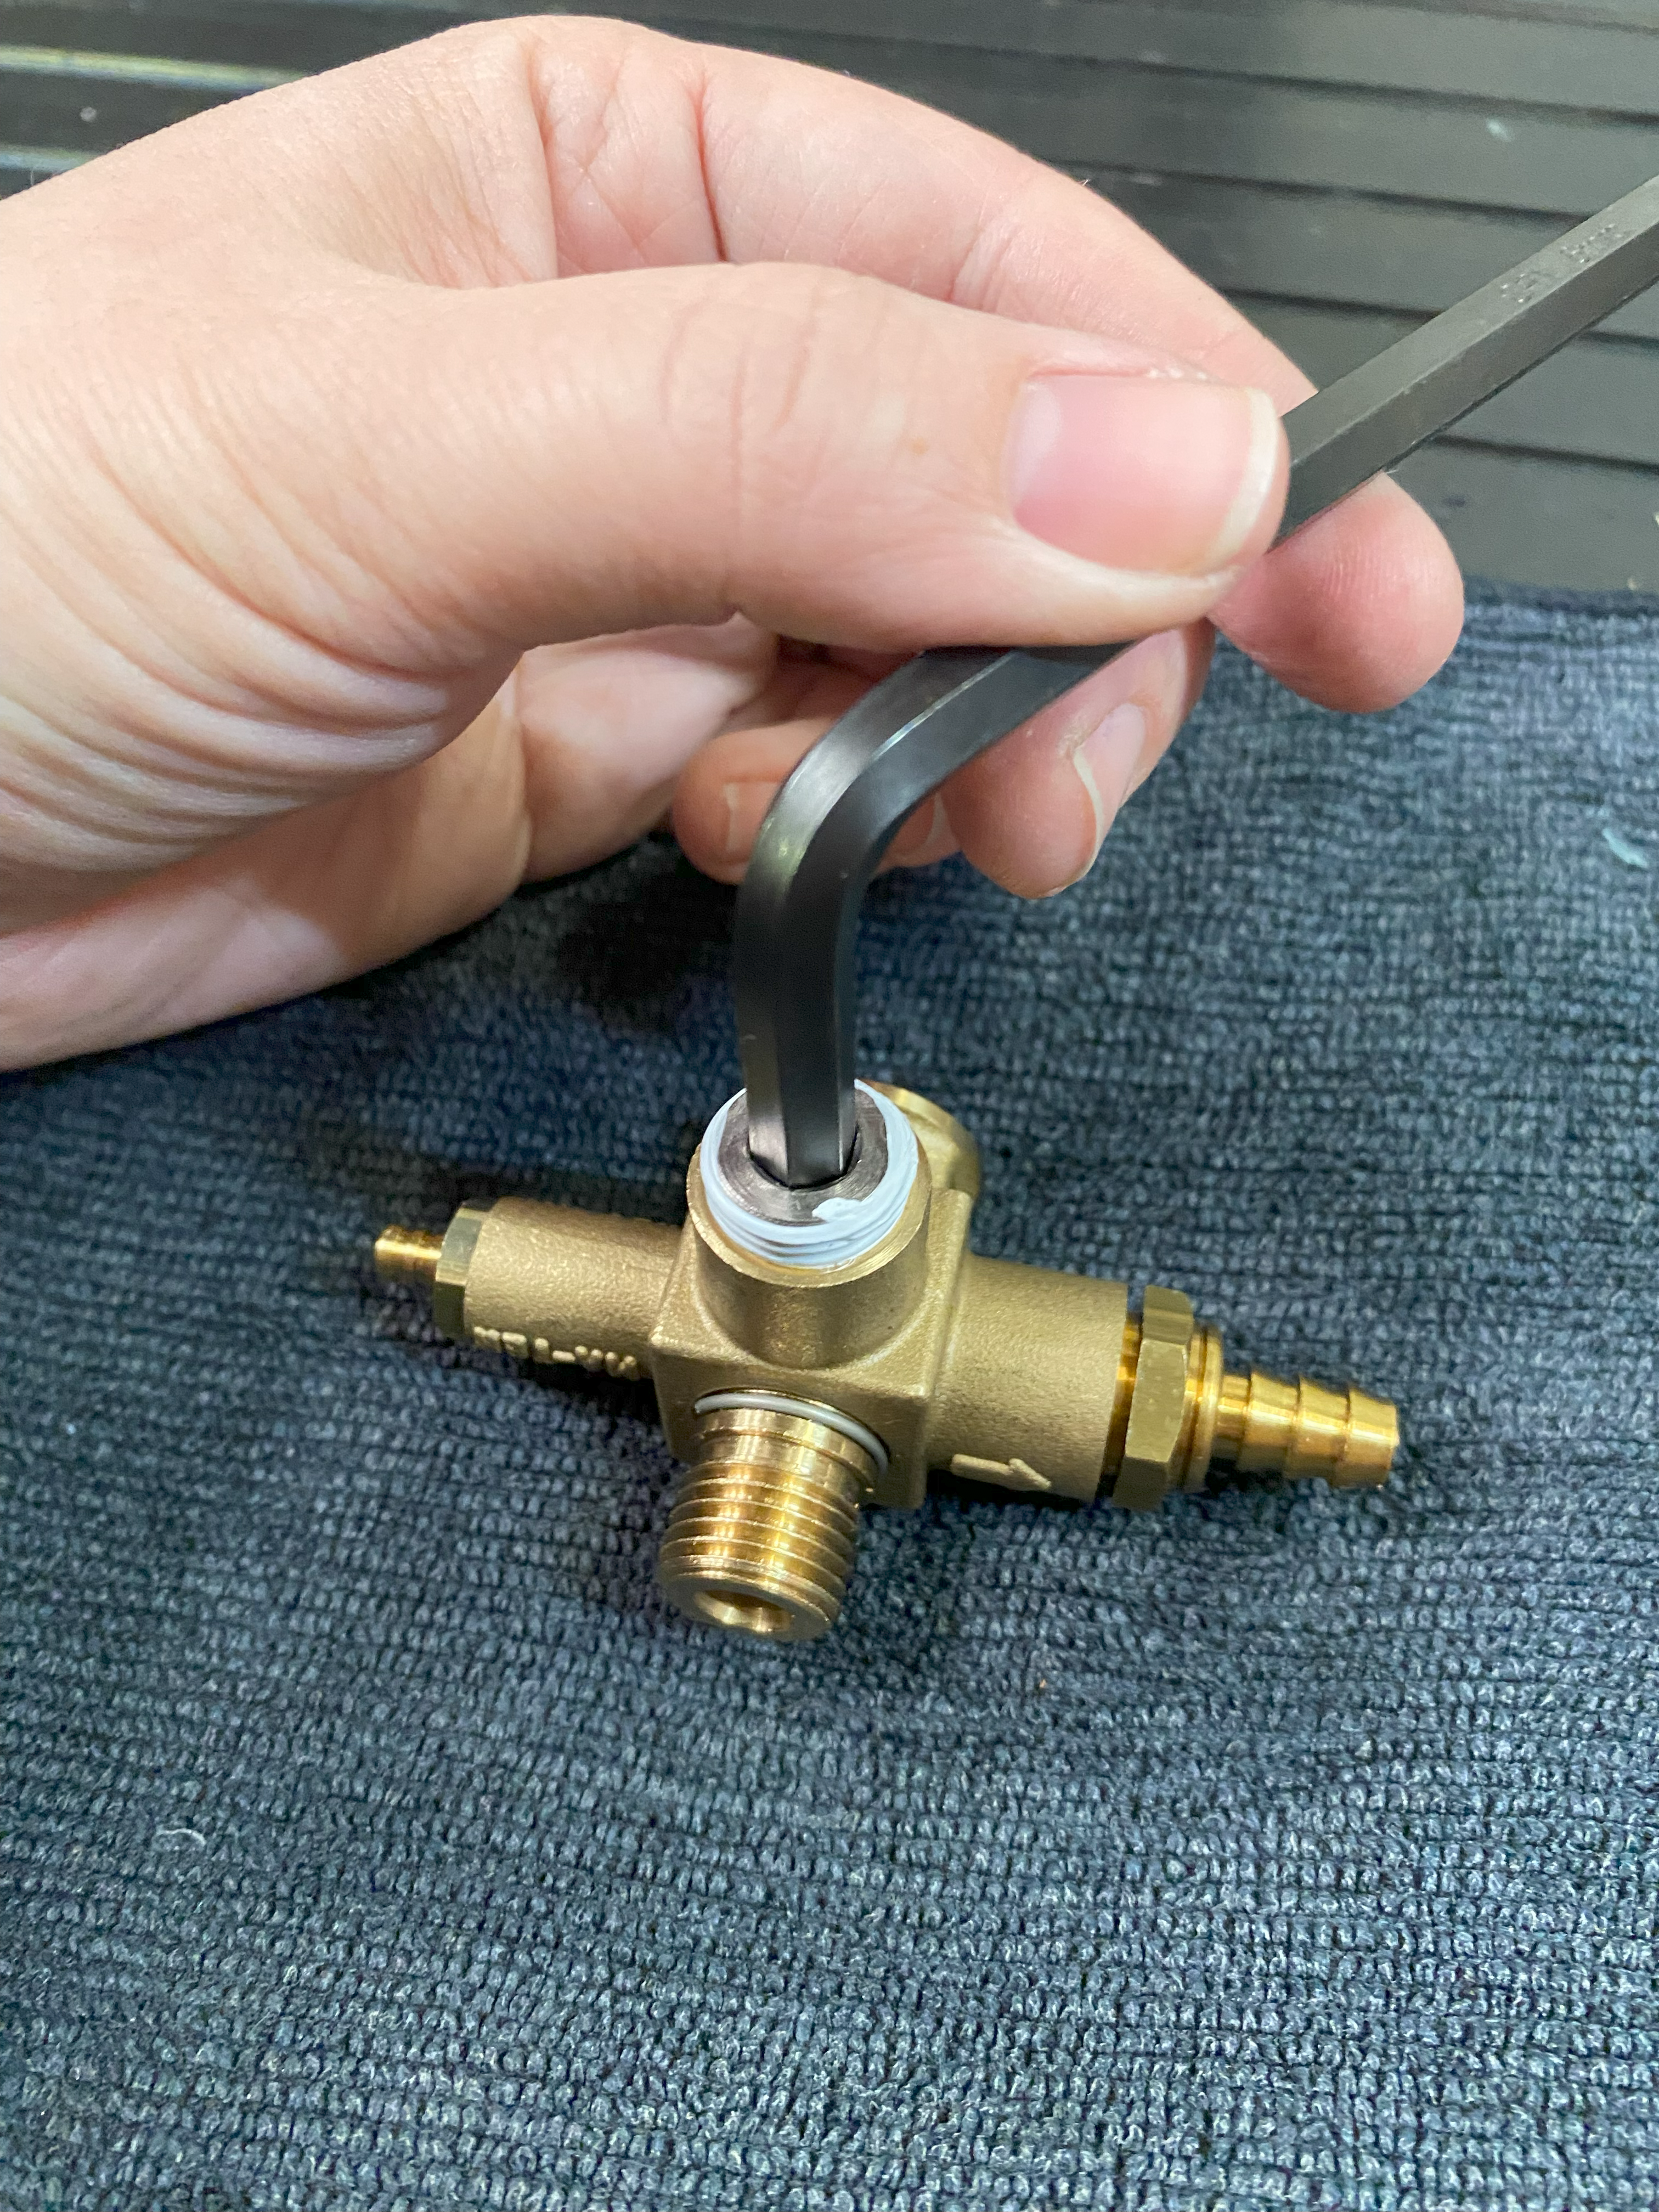
8. Once that lock nut is in there nice and tight, you're all set to install the replacement vacuum breaker onto the machine! We recommend replacing the zip ties on the tubing as well: 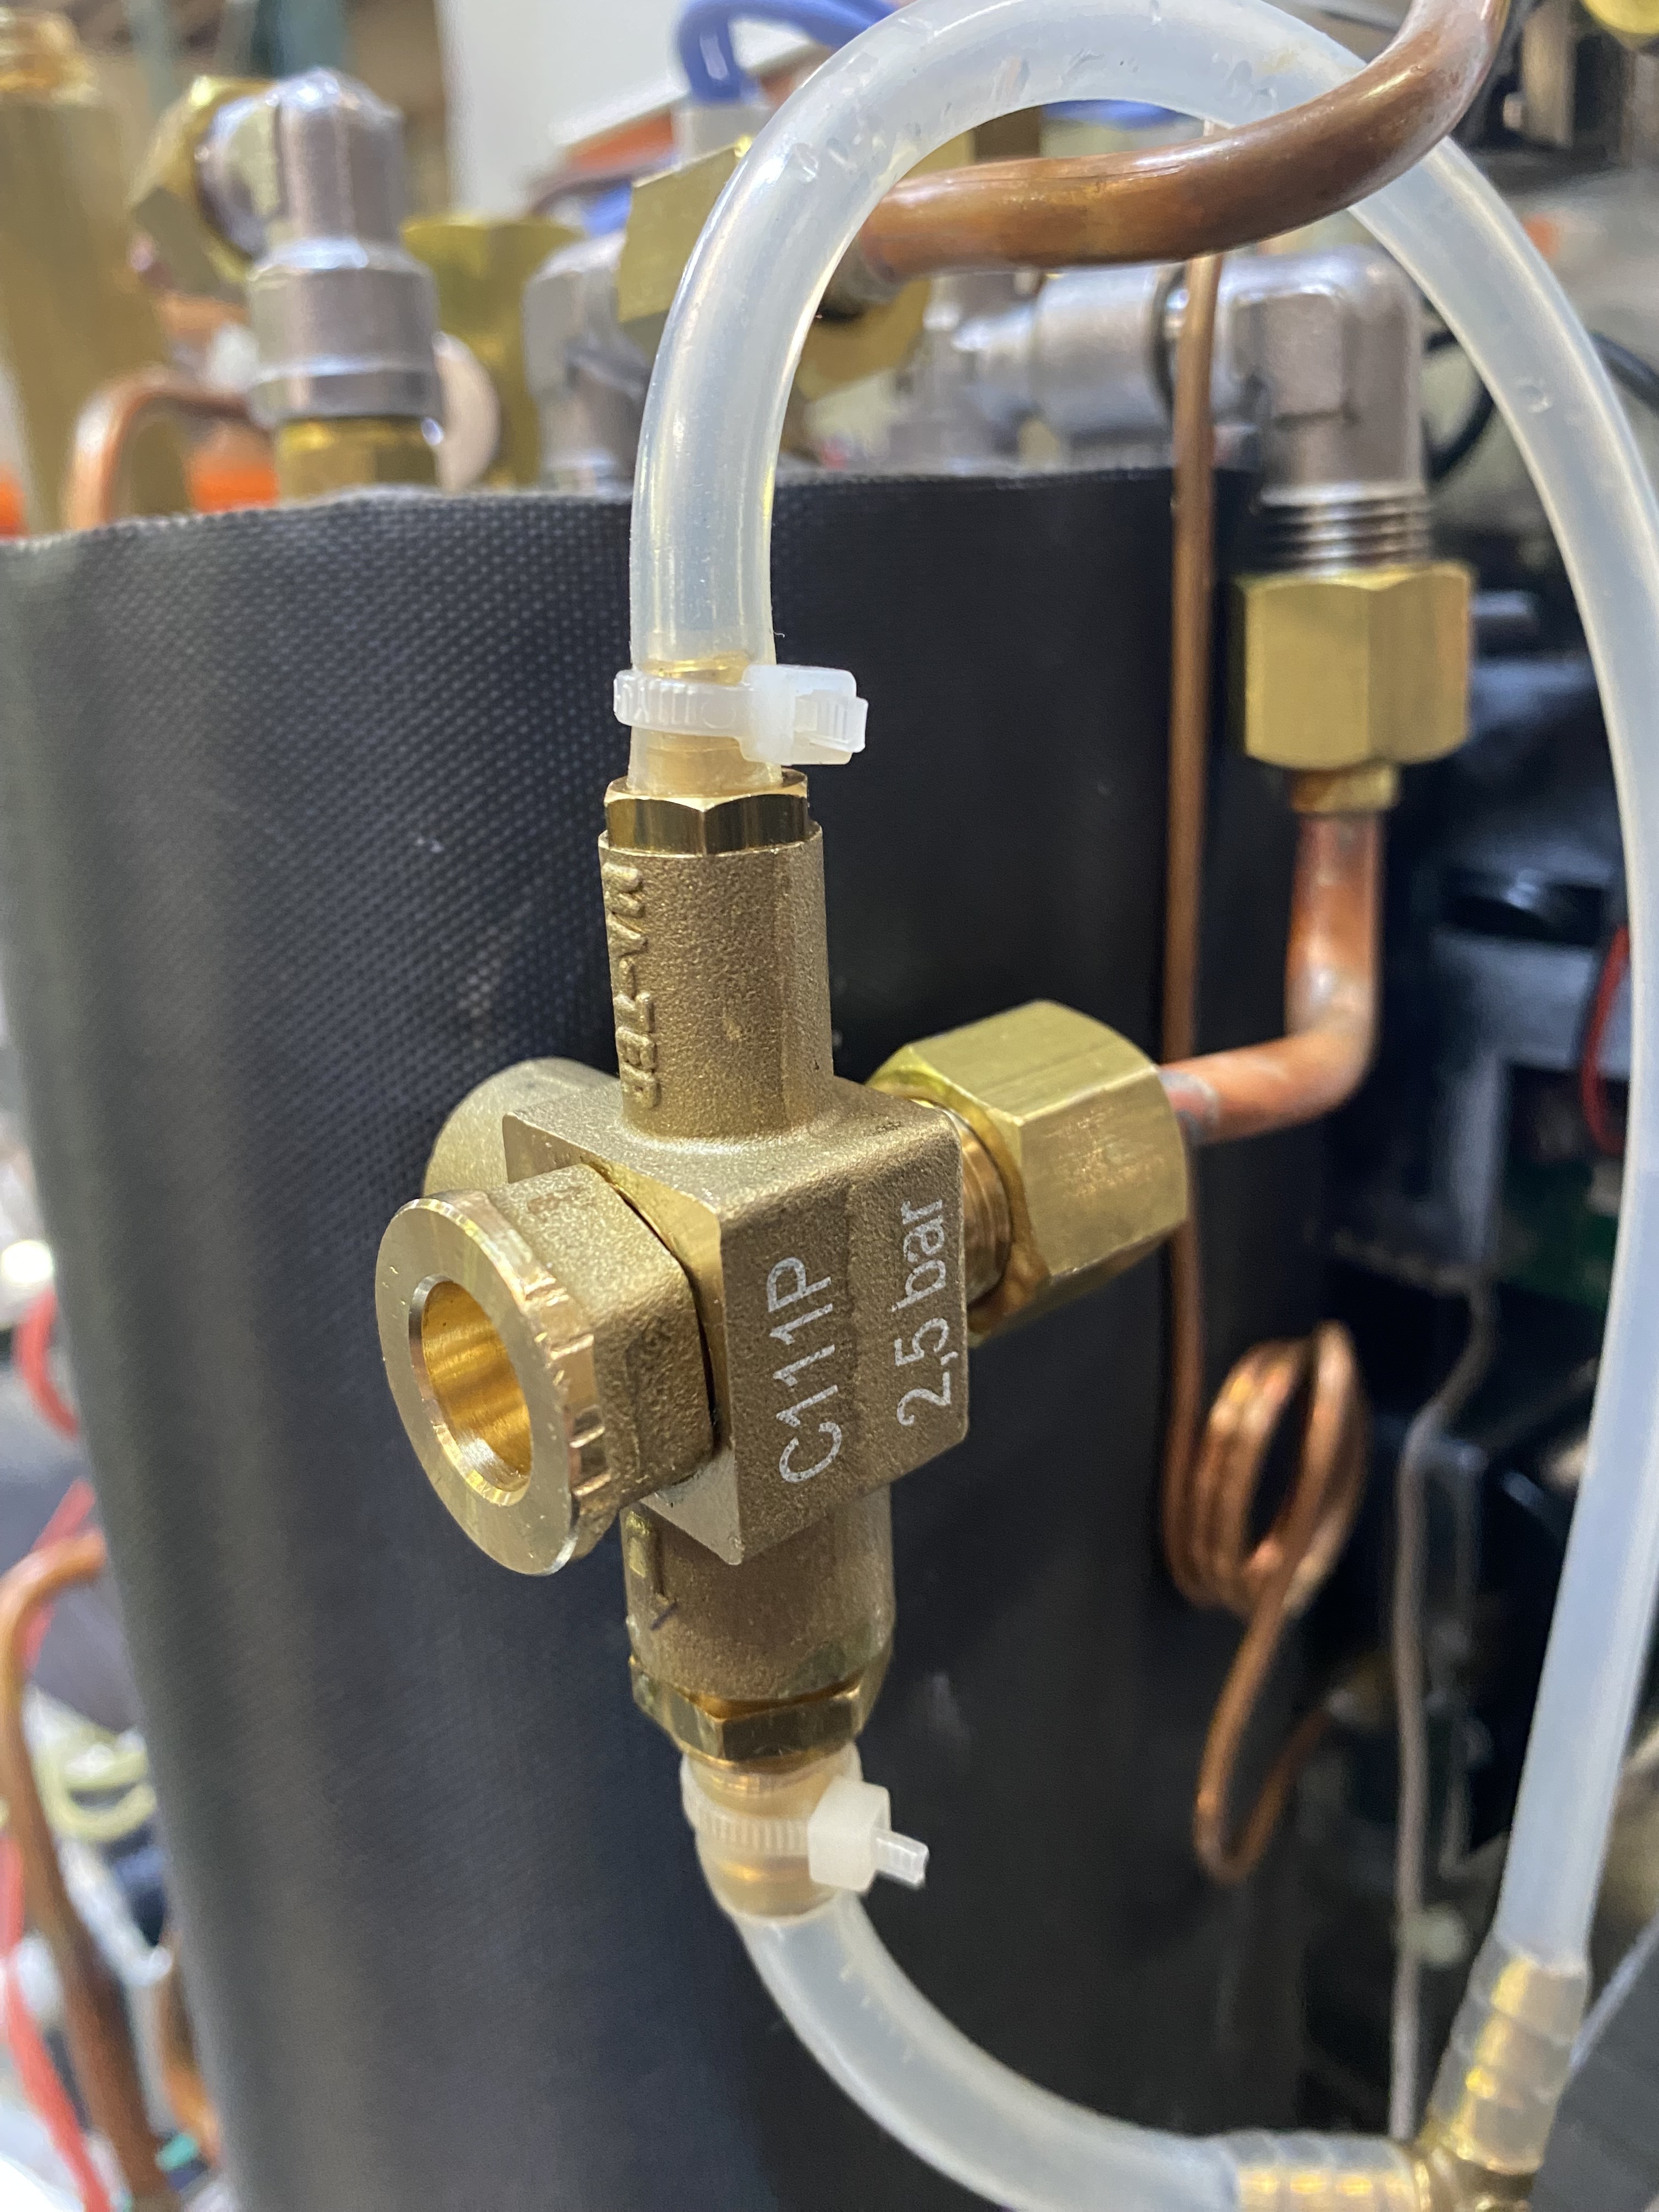
Pro-tip: After replacing a part it's best to test your machine with the panels off. This way you can check for leaks or any other issues before putting the panels back on. You can set up the water tank for testing like so: